Happy Monday, Friends! Chipped or peeling paint can quickly become an eyesore that detracts from any home's curb appeal. Today I'll show you an easy solution for retouching a portion of my painted fence that received the brunt of the scorching Texas sun over the summer

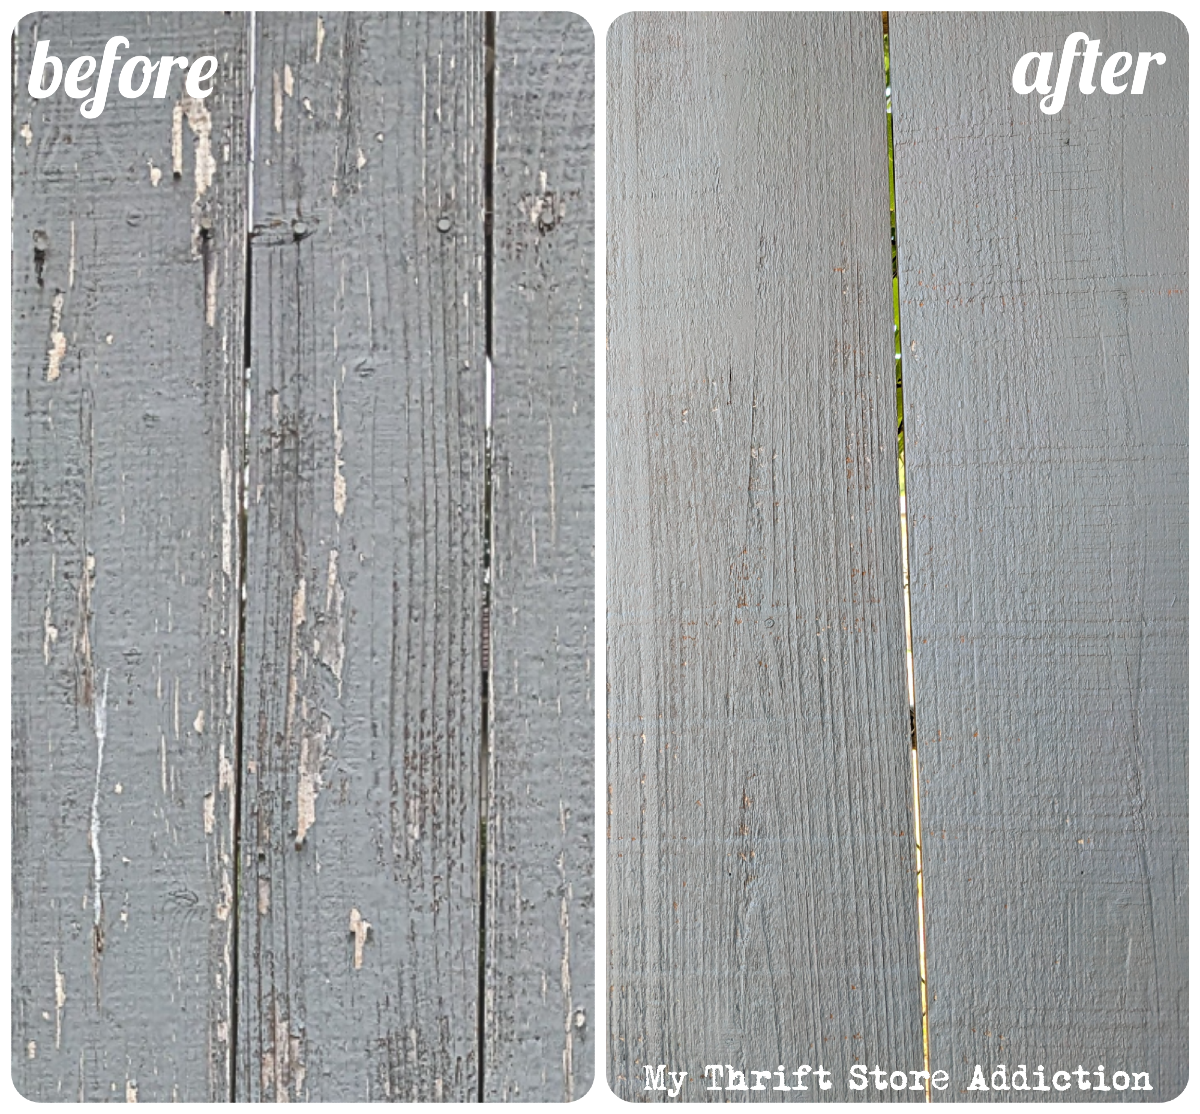
If you saw my original DIY painted fence post, you may remember that I have a very long stretch of fence parallel to my driveway. The good news is that a relatively small portion of the painted fence was sun-damaged. The bad news is the ugly peeling had become a nagging distraction every time I pulled into the driveway! Have you ever had one of those to-do projects on your list? Here's a quick before and after comparison.

Now if you have one of those to-do projects that's driving you crazy, I want to remind you that you can tackle it more easily by breaking it into mini-projects. Here's how:

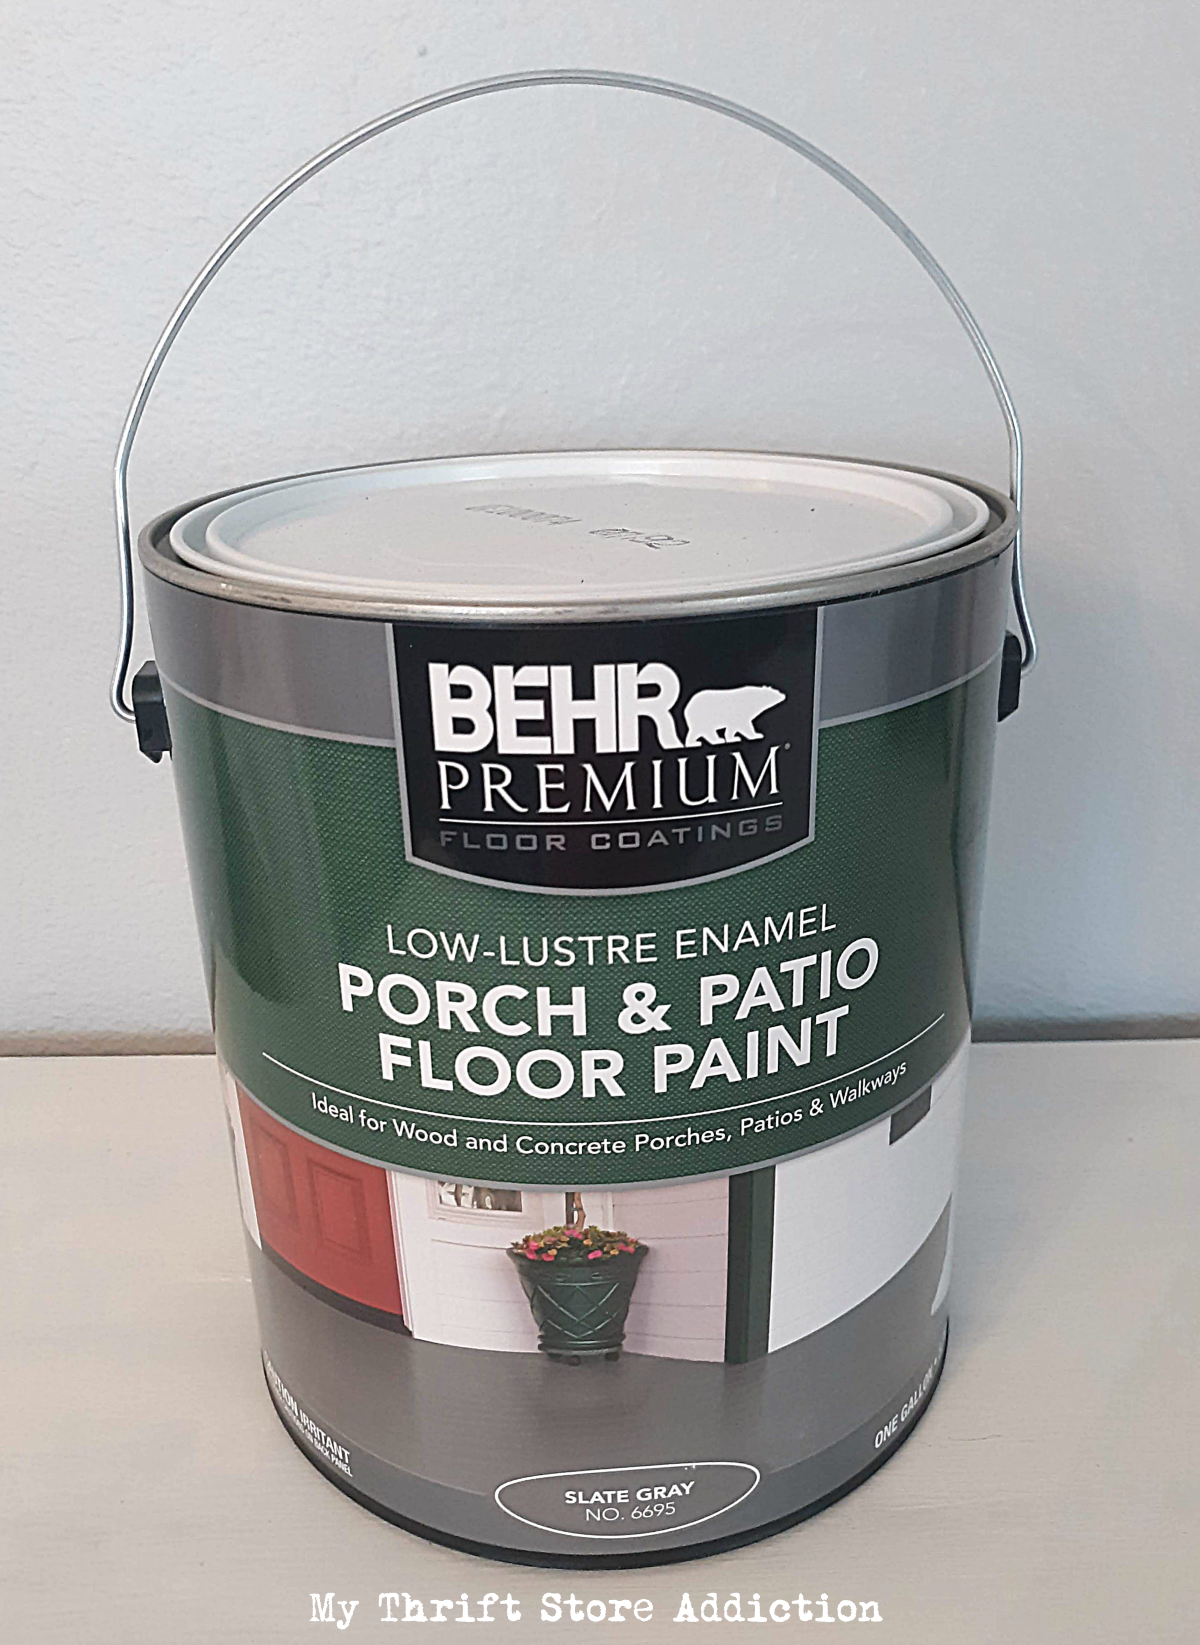
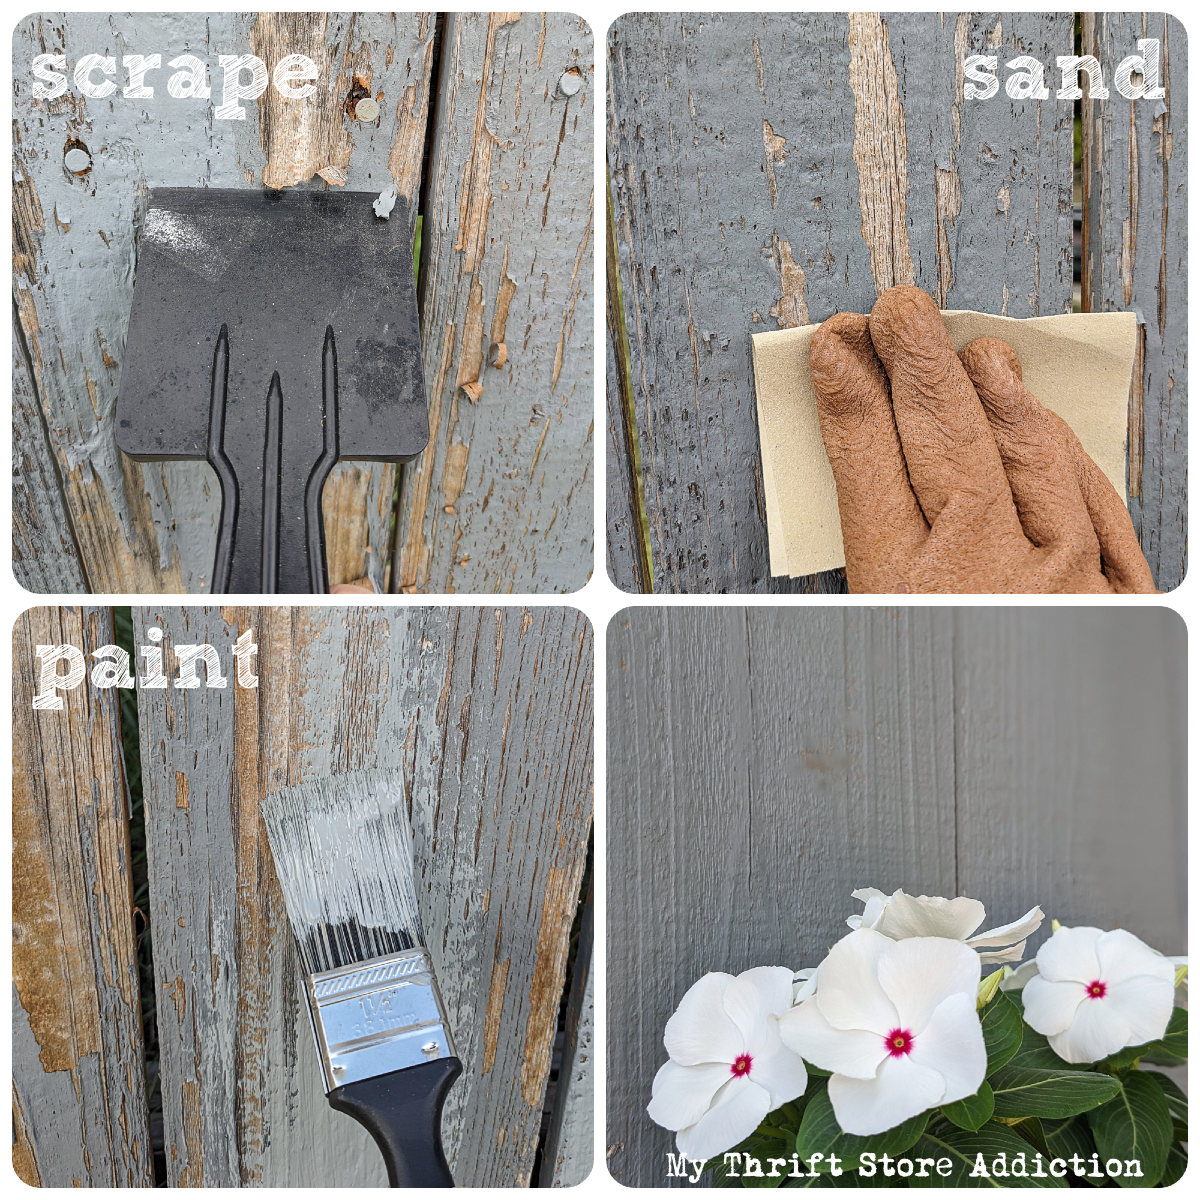
Above is the paint I used--now for my easy solution! First: On two different mornings, I spent 30 minutes scraping the peeling flakes. Next: I sanded for 30 minutes on another morning. Last: I devoted an additional 30 minutes in the evening to painting.

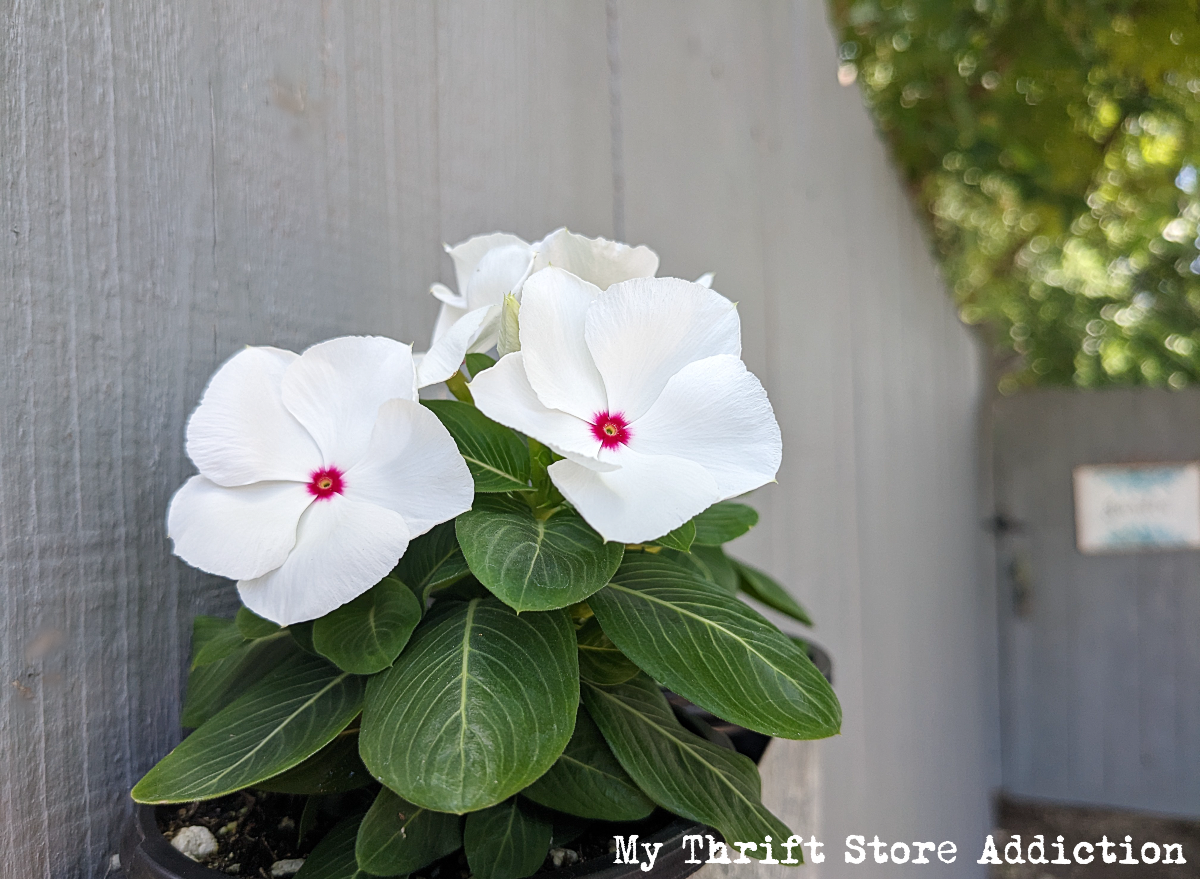
It may almost be fall according to the calendar, but our September weather still feels more like July. All-in-all, I spent a total of two hours and I worked only when the UV index was low. Here, that's usually before nine in the morning and after seven in the evening. Of course, you can tick off other dreaded tasks on your to-do list by managing them as mini projects, too!


Your fence looks great! Nice to know about that paint. You were smart to break it up. That's what I need to do for my metal patio furniture sand and paint project lol xo Kathleen
ReplyDeleteWell that's a quick and easy way to tackle a big job! I think I need to break up a few bigger DIYs I've been putting off. Great tip!! Thanks for the motivation!
ReplyDelete